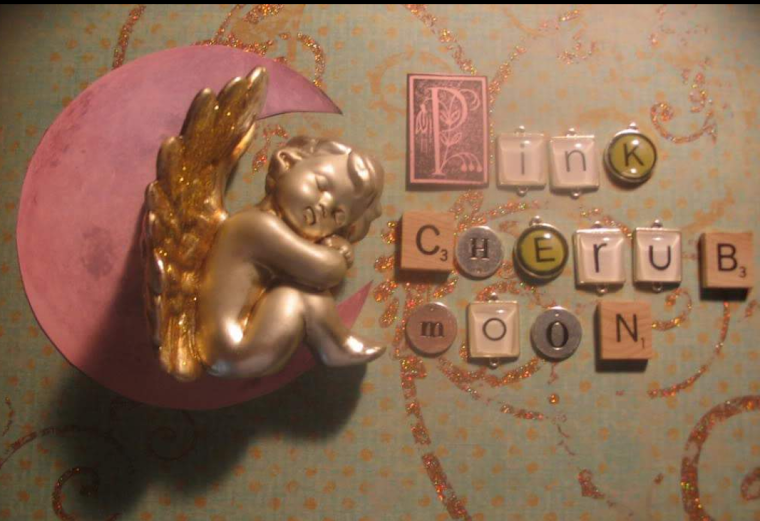
Happy Thanksgiving to all my family and friends who bring so much joy into my life! May your day be filled with love and laughter!
Hugs, Leena
Thursday, November 28, 2013
Wednesday, November 27, 2013
Scraps and Rags Christmas Trees
Hi Y'all! I hope everyone is having a great day! It's gotten really cold here - brrrrrr! I think that winter is making its presence known! That's OK. It just heightens my Christmas spirit!
Speaking of which, I came upon pictures of these rag trees I made a few years ago, and thought that I'd share how to make them. They're great for using up fabric leftovers and decorative bits. This group is more country is style, but you can also make them with lace and floral fabrics for a more romantic look.
All you need is a Styrofoam cone (size of your choice), fabric torn into strips about an inch wide, craft or hot glue, buttons, mini Christmas decorations and garland, ribbon, a star or angel for the top - anything you want to decorate your tree with. Let your imagination go wild and make it your own! I didn't make these with blogging in mind, so don't have step-by-step photos, but hopefully my instructions will make sense.
First, tear your fabric into a few 1-inch wide strips. I like to pull a few threads to fringe the ends. Put a dot of glue at the bottom of the cone, stick the fabric to it and begin wrapping the cone with your strip, pulling a bit tightly just to get it to lie flat, ad over-lapping the row below it about halfway. Continue wrapping until you reach the top of your cone, then glue the end down and snip off the leftover. Then, using hot glue or craft glue, attach your embellishments - buttons, bells, stars, beads, feathers, garland, pompoms, whatever you've chosen. After decorating, I used a wooden star that I'd painted and glued to a piece of a wooden skewer and stuck it in the top, then I used a scrap of lace to wind around the underside, so that it stuck out like a little tree skirt. Ta-Da! A cute little tree, easy and quick! I made different sizes and they looked so cute clustered together. So get out your scraps and jingle blings and have fun!
Thanks for stopping by! Don't forget to enter my Pay It Forward gift card give away, ending Sunday evening!
Hugs and Stay Warm, Leena
Sunday, November 24, 2013
Paying It Forward - Gift Card Give Away!
Then, I noticed that one of the wonderful blogs I follow was having a give away for a $50 Amazon gift card! $50? That would be just enough to get the book Jim wanted, a DVD for my older daughter and a CD set my younger daughter was interested in! I entered, I prayed, and I won! The blog owner knew nothing of my circumstances and the drawing was completely random. I put in my Amazon order right away!
This can be a difficult time of year for a lot of people, for a lot of reasons. Being able to show a little extra gift-wrapped love to our family members does our hearts good. So, I've decided to pay it forward with a give away for a $50 gift card of your choice! Use it for yourself, give it to someone in need, it's all up to you!
All you have to do is leave a comment after this post, listing your top three choices for the gift card, should you win. On December 1st, I will randomly draw a winner from all entrants and announce it right here! This is the first give away I've ever done and I'm so excited! I love giving!!
Thank you so much for stopping by and GOOD LUCK!
Hugs, Leena
Subscribe to:
Comments (Atom)


